WordPress Media Uploader is a great way for users to add new files to their media library or when creating or editing any custom post type, post or page. In this series of tutorials, I will introduce you into extending the WordPress Media Uploader by adding new fields for data, embed options, sending HTML to the editor and also adding a new tab.
In this article, I will just give you a small preview of what we will do and how to do it.
Custom Fields
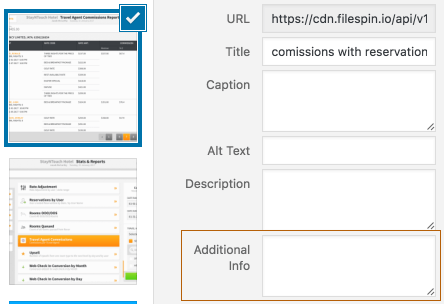
The Custom Fields are fields that we can use as custom metadata to save more information about an attachment. This can be done by using the hooks:
attachment_fields_to_edit– filtering the fieldsattachment_fields_to_save– saving the data in fields
In our first hook, we can add new fields to it by using the array to define them. WordPress will build the markup for those fields on its own.
The second hook is used to save the data in those fields and it is called on each change when used in WordPress Media Uploader.
Embed Options
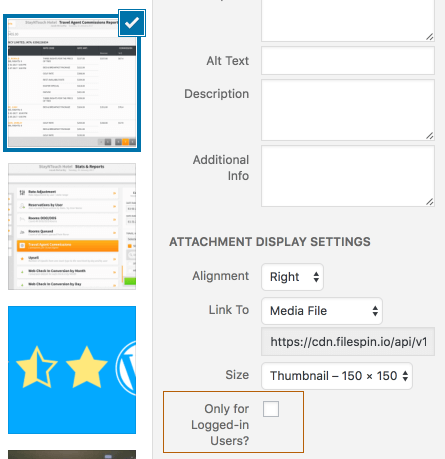
Embed options are used when we click on Insert into post button when an attachment is selected. They can define the HTML that is placed in our editor when adding the attachment.
This will be a really complex part of our series. We will replace the template for the Embed options and extend JavaScript Backbone models. I’ll try to explain as much as I can in there so that you get an idea on how that is done.
We will use the hooks:
admin_print_footer_scripts– to print our JavaScript Templateswp_prepare_attachment_for_js– adding new data to our attachments
There will be also JavaScript objects & functions such as:
wp.media.view.Settings.AttachmentDisplay– To render our new templatewp.media.editor.send.attachment– To add new data which will be sent to our editor
Editor
This is where the magic happens when we click the Insert into post button. I will show you how you can easily manipulate the HTML for it and even create shortcodes instead of plain HTML.
If we would use the embed option as shown in the previous image, we could have a shortcode instead of the image HTML such as:
only-logged-in-image att_id=ID
Custom Tab
Adding a new tab to the WordPress Media Uploader can help you categorize some of the attachments such as attachments from other services or placed under a certain category. We will have to rely on JavaScript once more here:)
Conclusion
This will be bit more advanced tutorial series and I also will admit that I also don’t understand everything in the JavaScript code that we will use (since it’s copied from the core), but for the parts I have enabled and done, I can explain:)
Here is the whole list of tutorials:
- Introduction
- Custom Field
- Embed Options
- Editor
- Custom Tab
Have you already worked with WordPress Media Uploader/Library? Did you extend it or use it in some other way? Please do share in the comments below:)
Become a Sponsor
Share this: