Are you a blogger? Did you ever question yourself how to handle everything about blogging and not going nuts? I will show you in this article how you can use a free tool Trello, as your blog planner.
I am a member of a Facebook group Blog + Biz BFFs where members help each other with blogging tips. At the time of writing this article, there was a great question about blog planners and which to use. I have mentioned Trello as a great free alternative to other paid blog planners. Let`s see and learn how Trello can be used 🙂
Create your Trello Board
Trello board is a place where you will put everything that relates to your blog. You can use it just for articles or even expand it to contain more information. We will use KISS (Keep it Simple Stupid) method for our Trello board.
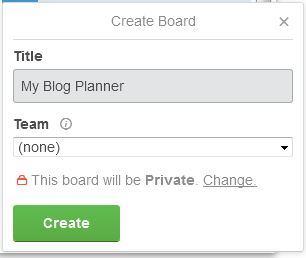
The best thing is that you can make your planner private, public or even accessible only within a team where you can work with others on the articles or other stuff. Now that we have created our Trello board we can create lists.
Creating our Trello Lists
Trello lists will be used to section our blog planner. Here you can do a lot of things but as we use the KISS method we will create lists that are related to articles. Since we are creating a blog planner let`s begin to plan even before using it. So here we will plan which lists we will create.
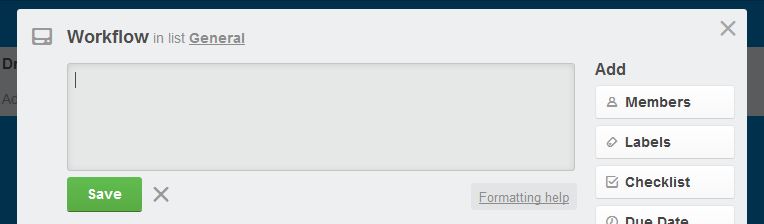
- General – this will keep our general information so that we do not sidetrack while using it. Here we can put everything about our blog that is not strictly related to articles. We can even write a workflow guide.
- Ideas – this list will be probably one with the most content at all time. Here we will put all our articles ideas.
- Draft – articles in draft will be the article idea that will become a real article. Here we will just set the draft of our article. We will write headings and also brainstorm some ideas to put into the article content.
- Writing – this will contain every article that we have started.
- Editing – after we have written our article we will put it under the list Editing. This article will be then reviewed and edited accordingly. If not set before, this is the list where we will create our images for the article and similar.
- Published – published articles are articles that have been edited and published on our blog. This is not the last part.
- Finished – finished articles are articles for which we have done everything. After we publish are our article we should put it out on social networks and everything that goes with it. When we have done all that, we put our articles in this list.
- Advertising – this is an optional list which can be used for articles that are currently advertised on several social networks, other blogs and similar.

Filling our General List
Before we start filling and using our blog planner we should first fill our general list with every information that could be useful to us. Here are some examples:
- Workflow – describe every list and its purpose. You can also write how an articles ends up in each list
- Blog – here you can put all your information about your blog: web address, host, domain provider and similar. This is a private Trello board, but I would not recommend to put your passwords in it.
Writing in cards
Before you go and create your cards, you need to know that you can write freely with simple text but if you would like to have bolds, italics, links and similar you will need to write in Markdown language. There is a Formatting help link where you can see and read how to write a formatted text.
Our first Article Idea
In the next few sections I will use this article as my article idea just to show you how you can do it. So first, we have come to an idea on writing about Trello as our Blog Planner. We create our idea and put some description or a comment to keep our idea simple and clear.
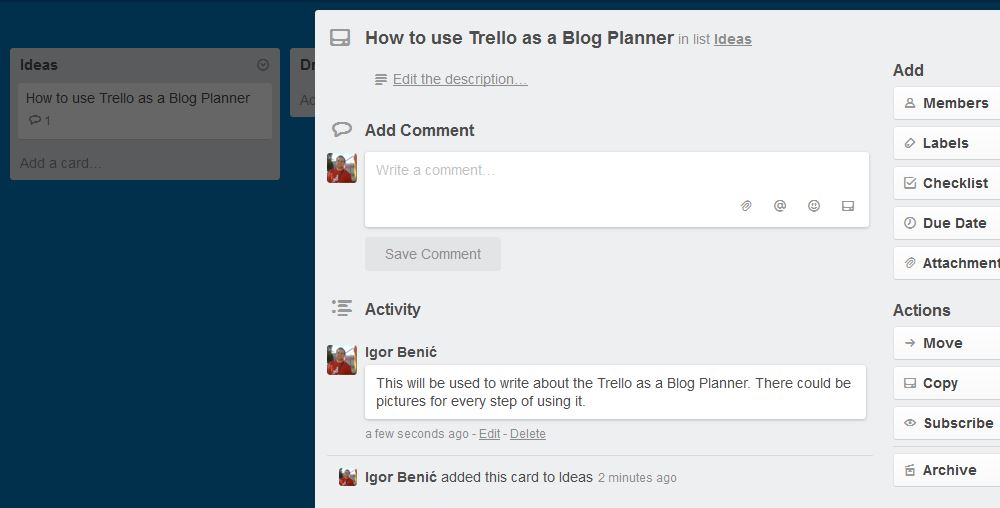
So we have written our idea. Our idea could stay for days or months in this list if we are busy. But it will stay there and we will not forget about this idea. The next step will be the draft and this is one of the most detailed steps.
Draft of our Article
In this list we can create a large draft. Here we decide about our headings, on which social media we should publish it. We can even create a due date for our article and also other article stuff which need to be made before publishing it such as a SEO title, a featured image and similar. You can view how I have made it in the picture below.
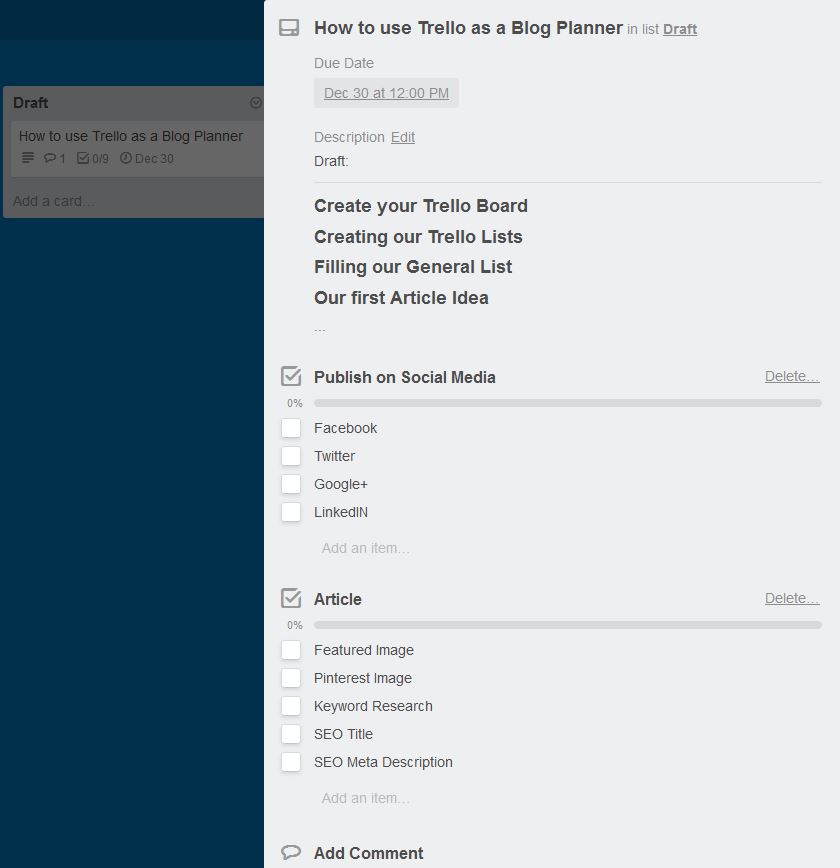
While writing and editing this article we can check each task we made and thus keeping the track on what has yet to be done. I usually start from keyword research to find a good keyword which will be my focus keyword. By doing this I can focus on a specific content and even handle my title, meta description and even some headings to be more SEO friendly.
This is somehow a mind trick with all these checklists and tasks. People usually love to check things and reaching the 100% on a progress bar 🙂
Progress of our Article
Now that we have set our detailed draft we can move our article to the Writing list where we would write our article content. When our article content has been written we should move it to the Editing list where we will check every sentence and be sure that there are no spelling errors or similar. We can create other extras content such as images and put them also on Trello so that we can use them even when we are not on our computer but can edit our article remotely. This is the part where we try to check all our tasks in our Article checklist.
When our article has been edited, the card could look like this:
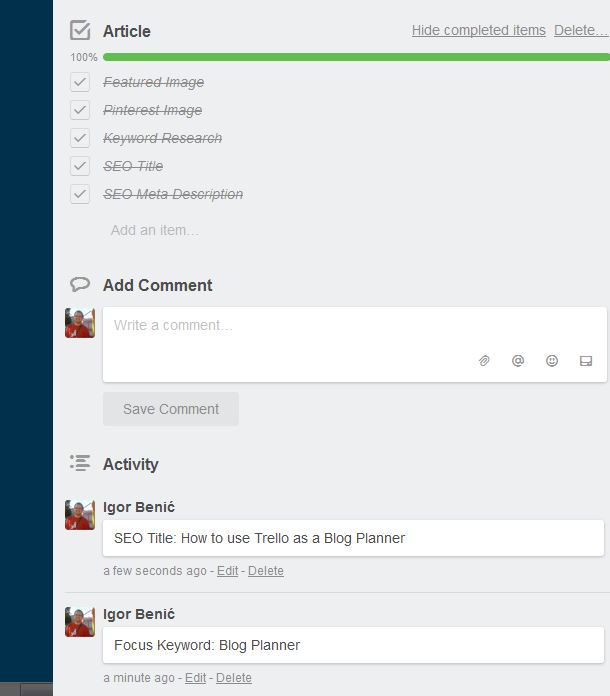
You can see here that I have commented my SEO Title and Focus Keyword to keep track of it. This could be also put into the description of the card but I like to put it in a comment so it stands out when viewing my card.
Description is used to write headings and some other extra content when drafting. But with comments I can keep the description simple and readable. I recommend to upload your extra content such as images, worksheets or other stuff that you plan to use in an article on your trello card so that you can use it also remotely.
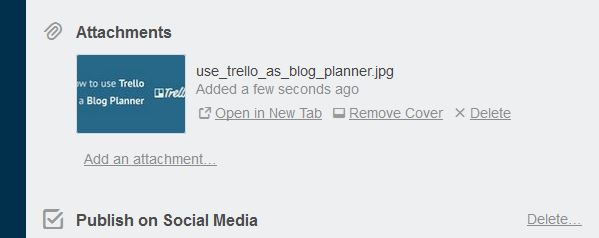
By using images you can also keep a beautiful archive of articles in your Trello board since the images can be set as cover images of articles cards.
The Finished Article
When you have published your article on your blog do not forget to do the rest of the tasks you have given yourself. Those tasks could involve sharing the content on social networks, contacting persons you have mentioned in your content or something else.
If you would like to advertise your article, you can put it under that list and then set a due date to remember when the advertising ends.
Bonus tip: Use Labels
Since we have used the Keep it Simple Stupid method I have not mentioned labels until now. But if your Trello board becomes a little cluttered which will probably become if you are serious about your blog then you should think about using labels.
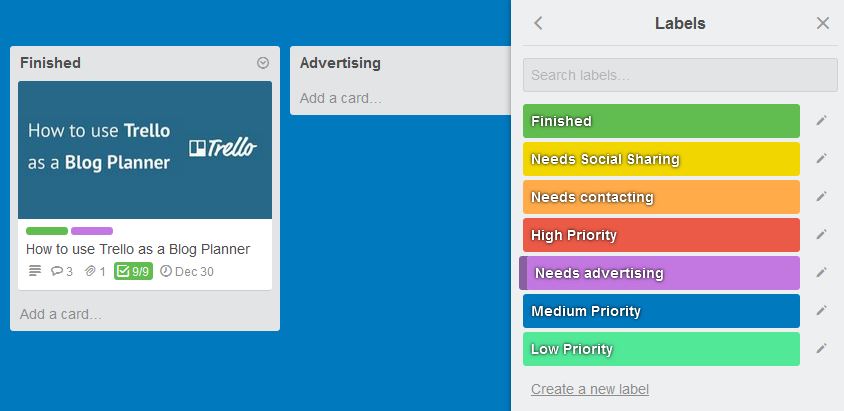
Labels can be various things. I am using labels to distinguish which article idea is a good one, to set a priority on articles and similar. You can also set different labels when you have several articles under writing or editing list so that you can set a progress on each one. Here is a picture of labels and also a finished articles with set labels:
Conclusion
Trello is a great tool to be used as a blog planner since it is easily customizable and you can set your own workflow. This article shows you how Trello can be used and not how it must be used so you are free to set your own workflow in Trello for your blog planner.
Get a Free Trello Blog Planner, copy it and start planning!
Are you using Trello already and have a great tip to share? Or are you using another great blog planner you want to share? Please comment below and help us get better:)
Become a Sponsor
I use Trello as an editorial calendar/blog planner too 🙂
One tip I’d add: create a template card that you can duplicate to create each new blog post, so that all your checklists and instructions are copied with it.
Before Trello had a Template feature, you could just make a dummy card, click on it, and then click on the Copy button and select which elements of the card to keep in your duplicate. Now there’s an easy way to turn any card into a template, and click on the “Create Card from Template” button to make a new task.
An advanced option is to make a Butler automation that will auto-populate checklists and labels to every new card you make.
I don’t know if all of these options are available in the free version, but the simple “Copy” method definitely is.
Here’s another tip: Attach links to your draft post, so you can access it with one click! (I write drafts in Google Drive, but you can also link directly to the post editing window in the WP admin.)
Oh, I could go on and on about Trello all day long 🙂